Replacing burnt out clock light bulbs in your Infiniti is very easy DIY procedure. Dealership will charge you over $100 for this, but you can do it yourself virtually for 20 cents and half an hour of your time. Recently I replaced bulbs for Infiniti G35 clock light without any problems.
Analog Infiniti clocks use two small 12V “Grain of Wheat” bulbs with covers. Stock Infiniti caps are of amber light. During replacement it is possible to remove caps from burnt out bulbs and install them on new bulbs, so there is no need to order caps or bulbs with caps. There are a lot of offers on eBay 100 “Grain of Wheat” bulbs for less than $10, i.e. less than 10 cents per bulb. I have ordered five (just don’t need 100) 12V small “Grain of Wheat” clear bulbs with insulated 7″ leads for about $3 on eBay. I decided to go with amber clock light again to match with other interior lights. However, it is easy to find different caps for bulbs, like blue, green, red, etc.
Let’s start with instructions. Please note that it is a recommendation and not an official repair manual. Always be careful during repair procedures and know what you are doing.
Grain of Wheat bulbs
It should be at least two small 12V “Grain of Wheat” bulbs with or without caps. It is hard to find these bulbs in a store in Canada (actually I could not), so the best way to get them is ordering online. Shop around, find what you need. My advice is to order more than two bulbs just for case of breaking wires during replacement. Make sure bulbs you are ordering are not larger than 4mm in diameter. Otherwise they will not fit clock bulb holders. If they are smaller, it is possible to fix.
Bulb with insulated leads:
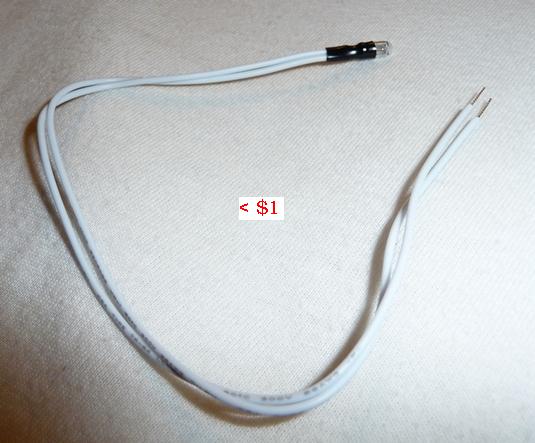
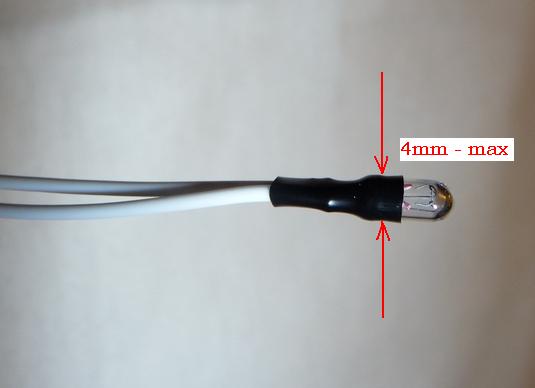
They are really small:
Â
Console Vent Cover Removal
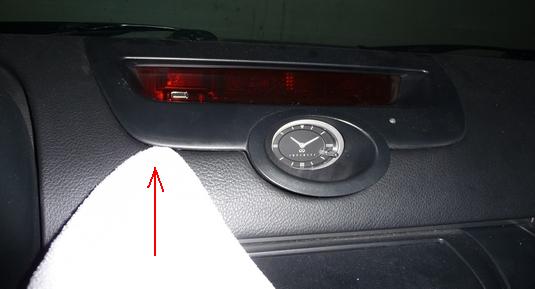
You need to remove piece of plastic cover around the clock (console vent cover, or dash clock cover). Some solid flat tool like a blunt knife covered in a cloth is very useful for removing cover:
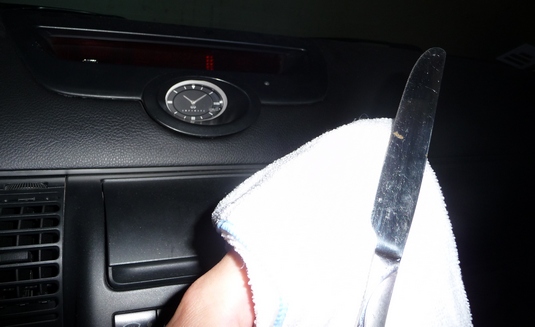
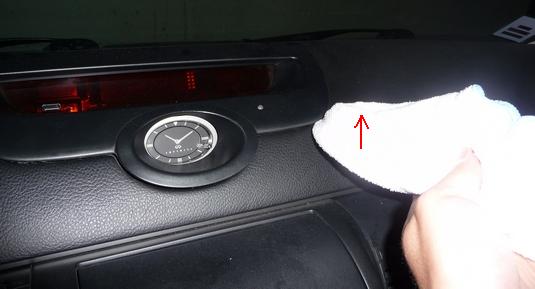
Insert it in the bottom corners and push directly up. It is the most hard step of bulbs replacement procedure and may take about 5 minutes. Be careful and persistent, and the cover will give up soon. Left side:
And right side:
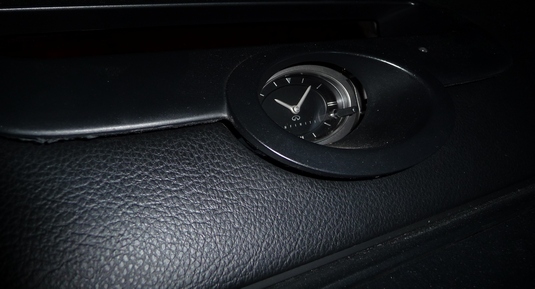
Move it up when metal clips are released:
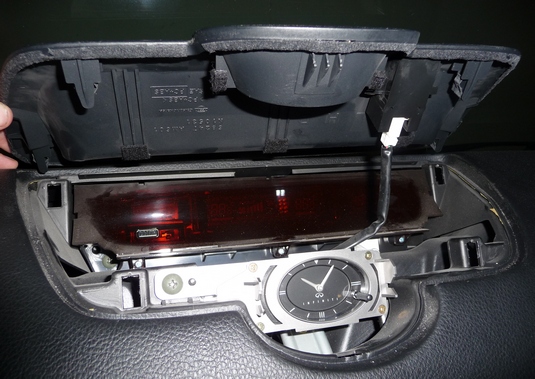
Be careful with the harness going to the small alarm light bulb. There is no need to disconnect this harness. You may put the removed cover on dash, so alarm cover is still connected and you can continue work on the clock.
Â
Remove the Clock
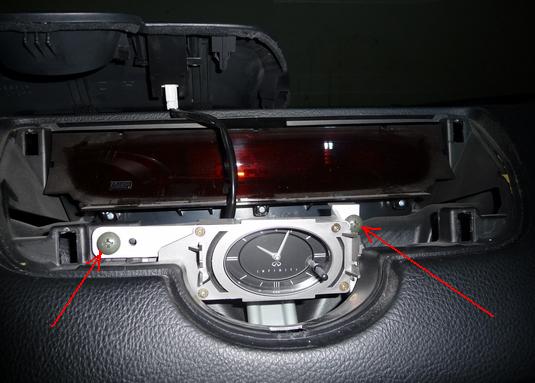
Loose and remove two screws holding the clock panel:
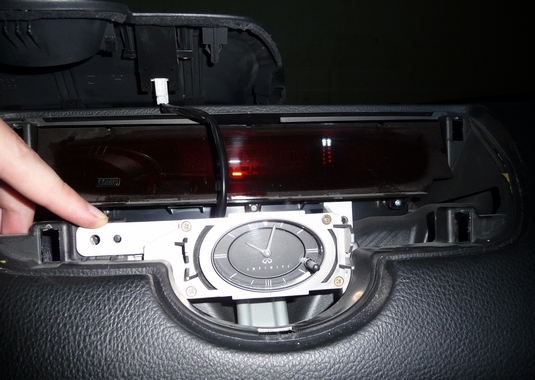
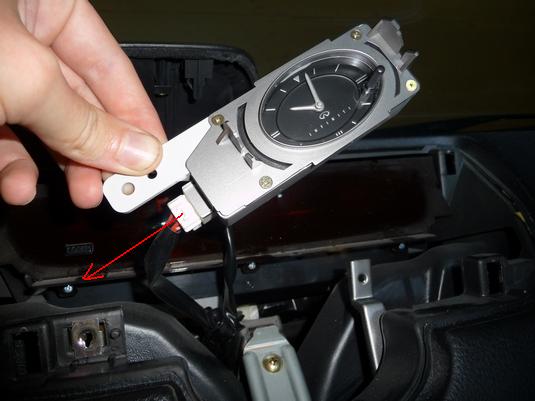
Remove the clock by pulling it upwards and disconnect the harness:
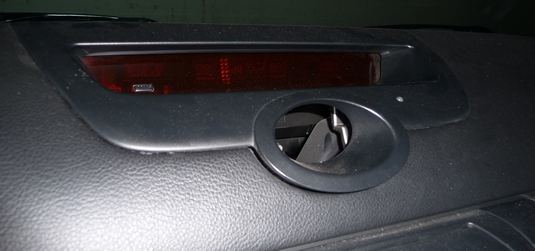
If you are not going to replace bulbs and put back the clock immediately, place the clock cover back onto its place, so it won’t disturb you when driving. Do not push on it to let the clips be released in order to avoid dash clock cover removal procedure again. Leave some opening:
Â
Clock Bulbs Replacement
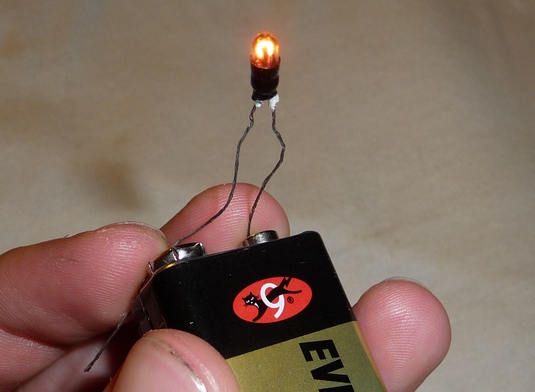
First of all when your order with “Grain of Wheat” bulbs received you may want to check them by using a battery:
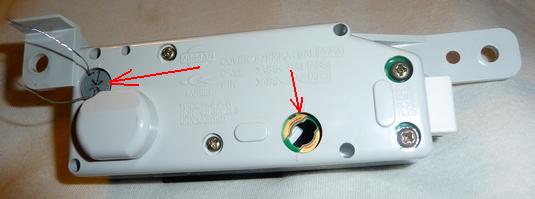
Remove old bulbs from the back of clock panel using a screwdriver. Do not remove metal screws on the front of the panel! There is no need. Just remove two plastic bulb holders:
Remove old bulbs from the grey holders:
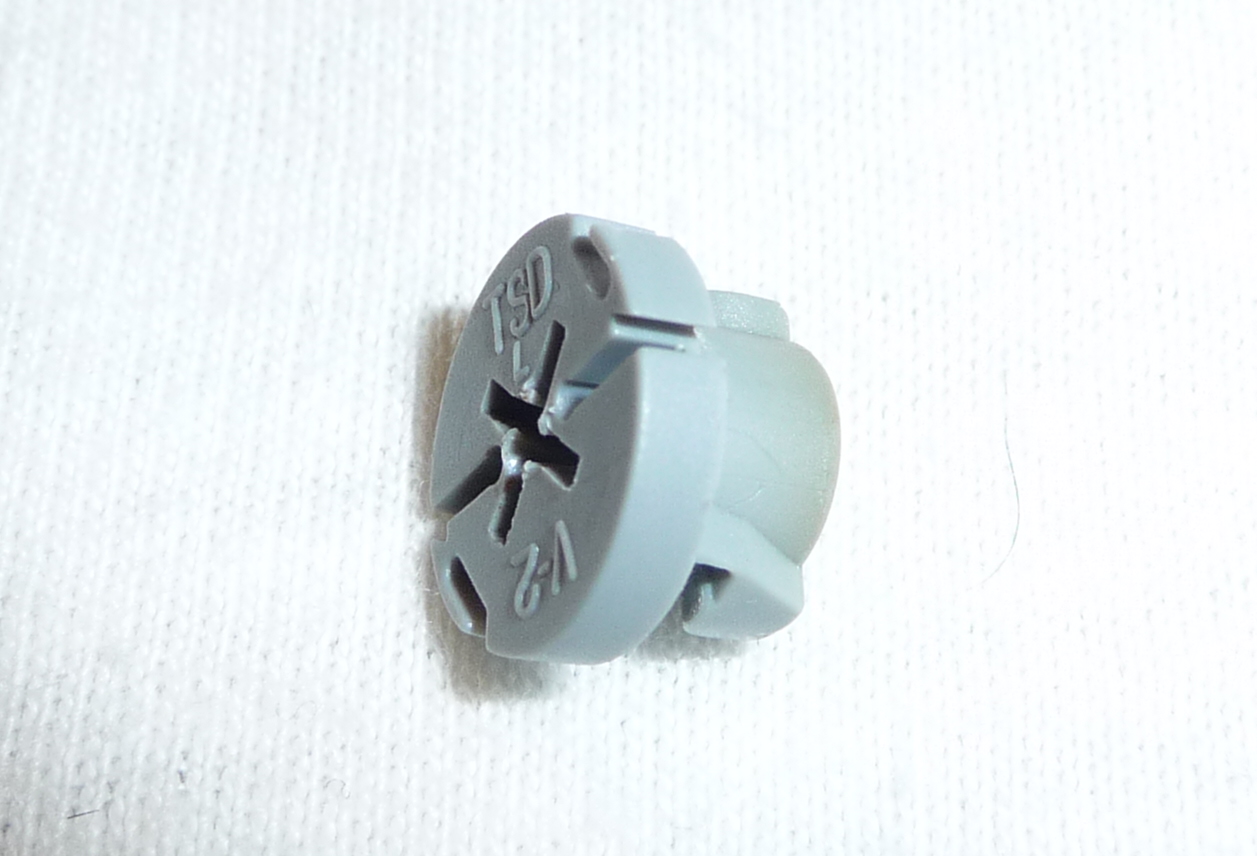
Do not forget to remove amber light caps from old burnt out bulbs if you want to keep them before disposing bulbs off.
Remove isolation from new bulb leads:
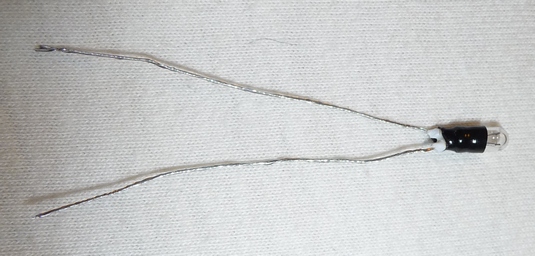
Check if new bulb fits the holder:
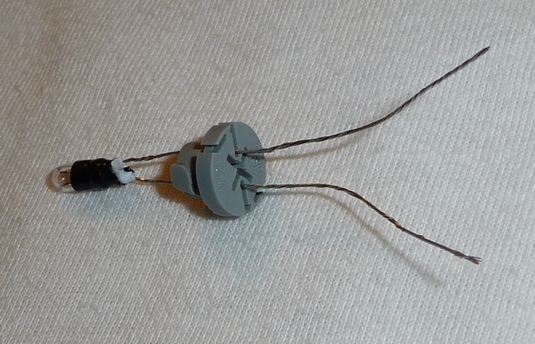
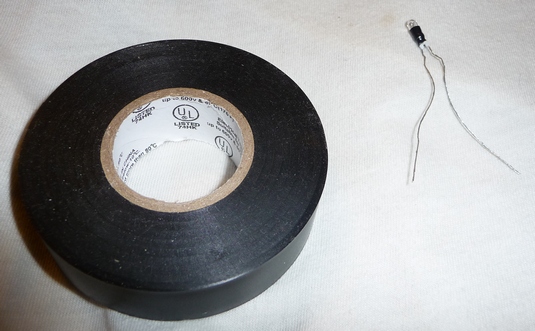
If it fits tightly (4 mm bulb) skip the next (taping) step, otherwise we need to fit it tightly. Bulbs I ordered were 3mm in diameter. They were “small” in the description. So I had to fix it by applying tape around the base of each bulb:
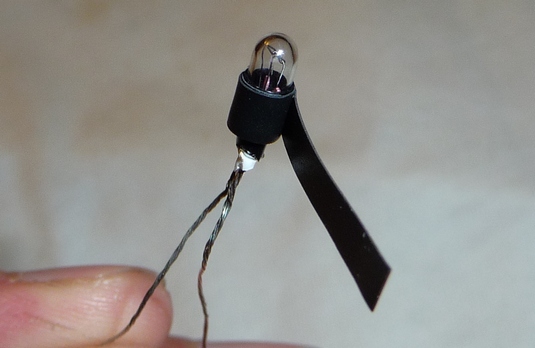
Prepare the bulb and put a cap on it:
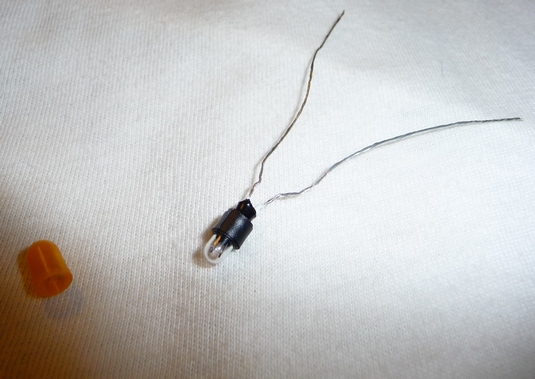
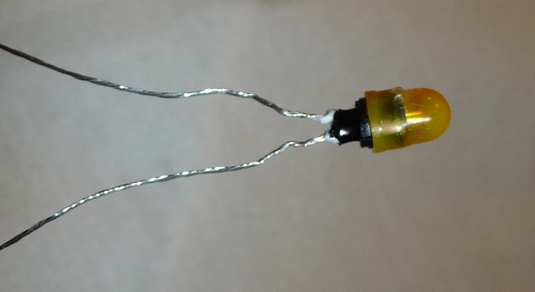
Put new bulbs with caps into holders:
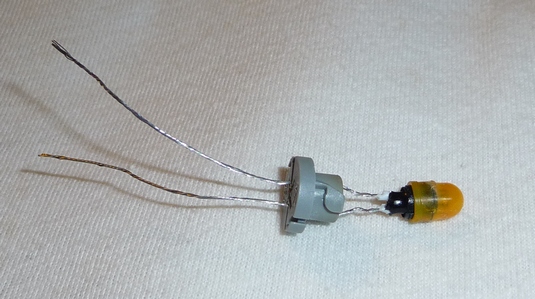
It requires some simple wiring. Put the wires into special holes, so it will create electrical contacts with clock panel leads later:
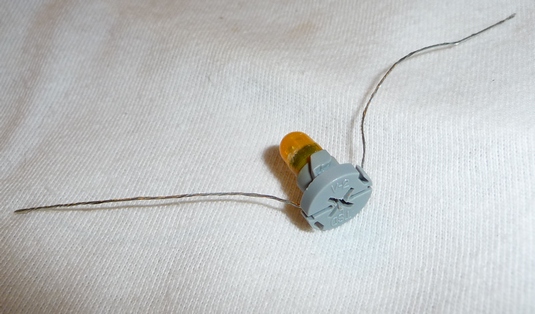
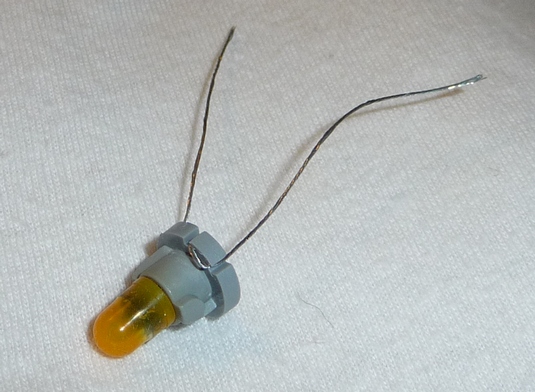
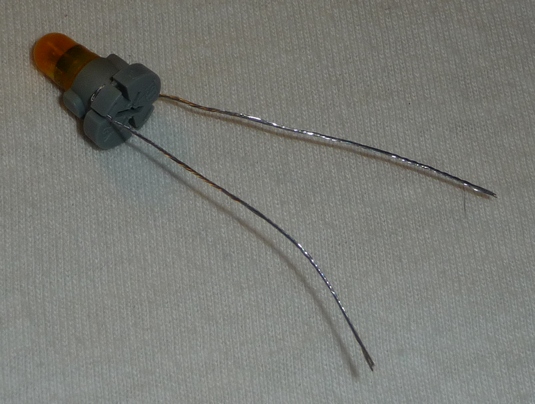
Insert the bulbs in holders back into the clock panel. Use a screwdriver to tighten them:
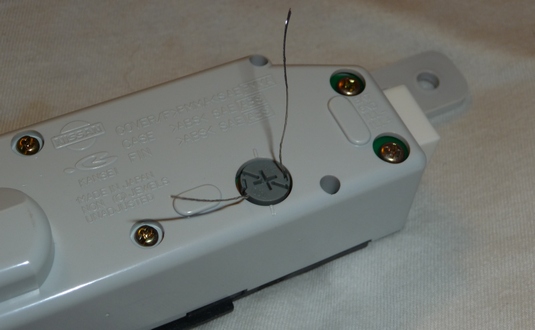
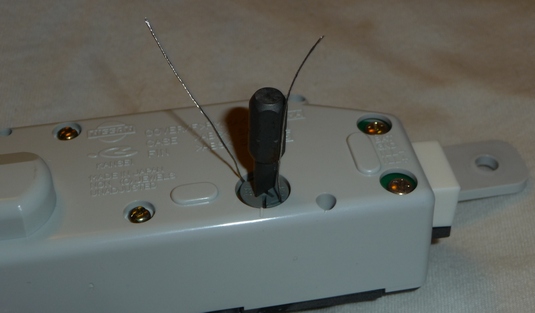
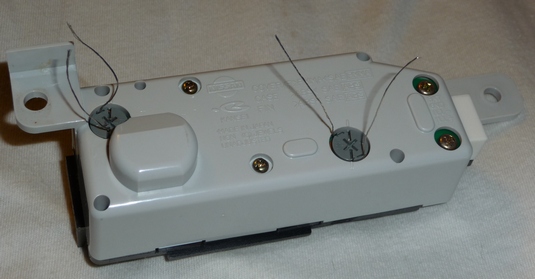
Â
Assembly
- Cut excessive wires
- Put the clock panel back onto its place
- Attach clock harness
- Switch on low beam to check clock lights. If not working try to figure out the reason – it should be a simple task
- Tighten screws
- Replace dash clock cover and push down to attach metal clips
- Set up time
- Enjoy working clock
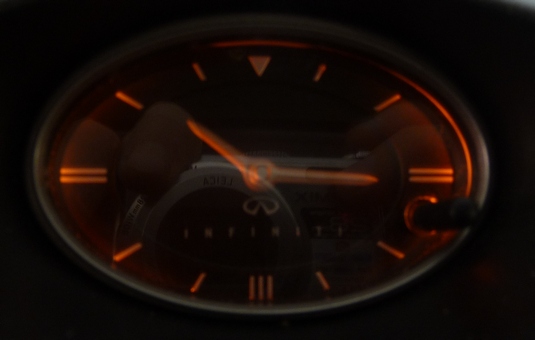
Let me know of any inaccuracy here or if you have some problems replacing clock light bulbs on your Infiniti.
I have a 2008 G35x with wood grain dash around the full clock and controls panel. Total different setup. Please provide tips for disassemble and bulb replacement if you’re familiar with this model.
Thx a ton!
Is there a bulb on the g25? And if so how do you change it?
Will these instructions work on a 2011 G37X Sedan???
Hi,
I have a 2001 I30T. Is the procedure and light bulb size still the same? I tried removing the top cover and it is being very persistent. I don’t want to break anything.
Thanks,
would like tp
o contact Roso re: infinity light bulb replacement
Article published April 18,2013
Thanks
Earl
Would anyone know the procedure for replacing clock bulbs on a 2011 Infinity G37?
Thank you! Really appreciate it!
for me the most painful part was to get the bulbs. finally I found them at (Mastervox store in Montreal) or other option was (http://importbestbuys.com/4mm-clear-12v-grain-of-wheat-rice-bulbs-mini-bulb). It says 4mm but i highly doubt they are. once i got them, I finished installin the new bulbs in 10 min. Best instructions.
I have a2003 Infiniti g-35, love your instruction , can you help me find the bulbs for my clock in my Infiniti ? Thanks Mackie
Great Topic!!! It appeared as a DIY Tutorial…And some more are there which could save our warm pockets even at the hard times too…Hard times could be during any sort of technical issues and mini financial ones also…
hello i was wonder if the long wires hanging from the bulb need to be left like that or can i cut it before screwing it in?
Hi I followed all your steps and replaced the bulbs with no problem. After I finished
And started my car it ddnt work and now my center console lights won’t turn on either the buttons still work but no lights. Help please
Thank you for helping!!!
I was wondering on the 12v bulbs. What Operating Current did you use. 100mA, 80mA or 70mA. Also what type of Power. 1.2 W? which one would last longer life or burn brighter?
Thanks,
John
Hi Kara,
It’s 2003 G35.
Regards,
Trueler
I was wondering what year your infiniti was. I am truly grateful for this easy-to-follow guide and would love to fix my clock, but the more I look at the picture of your dashboard, the more I think that my dashboard differs slightly? I have an 04…
Wow, amazing instructions, I’m headed to Fry’s tomorrow!
This website offers 4.1mm bulbs. Does it work for G 35?
http://www.ebay.com/itm/5-pcs-large-grain-of-wheat-lamp-12V-insulated-leads-/110778183771?_trksid=m7&_trkparms=algo%3DLVI%26itu%3DUCI%26otn%3D3%26po%3DLVI%26ps%3D63%26clkid%3D7399399805234295009#shId
Thanks,
Zhong
THANKS GREAT INSTRUCTIONS ONLY WISH I WOULD HAVE LOOKED HERE BEFOR PUTTING A SMALL CRACK IN DASH COVER GETTING IT OFF MY BAD SPOT ON INSTRUCTIONS ON BULB REPLACMENT BEST VALENTINES DAY PRESENT I COULD GIVE WIFE YOUR THE MAN
Hi Charles,
Dealership sell these bulbs only with plastic base, which was about $50 three years ago. You can order bulbs from eBay for $1-$2.
Regards,
Trueler
Good Morning, I live in a very small city with NO Infinity dealership within 85+ miles. Can I order a bulb for my clock from you? OR must I just order it from a dealership?
I also want to “Thank You” for such easy instructions. I have no apprehension of changing this bulb all by myself.
Keep up the good work! Sincerely, C A Jones (Tennessee)
Thanks Rohan! Really nice to hear this :)
Thank you – absolutely perfect Instructions !
Wish there’s many more people like you !
Thanks for the info! Definitely the most detailed “repair” I was able to find on the web! Thanks a mil!
awesome
Thanks Anant!
I just used this on a used g35 I bought with the clock light out; it worked very well! These are definitely the most detailed instructions I was able to find. Thanks for the confidence tips on removing the console around the clock, I needed that to get over the “I’m breaking something” feeling.